
Updating Your Physician Profile
Step 1: Log-in to your mymedicalimages account at https://app.mymedicalimages.com/.
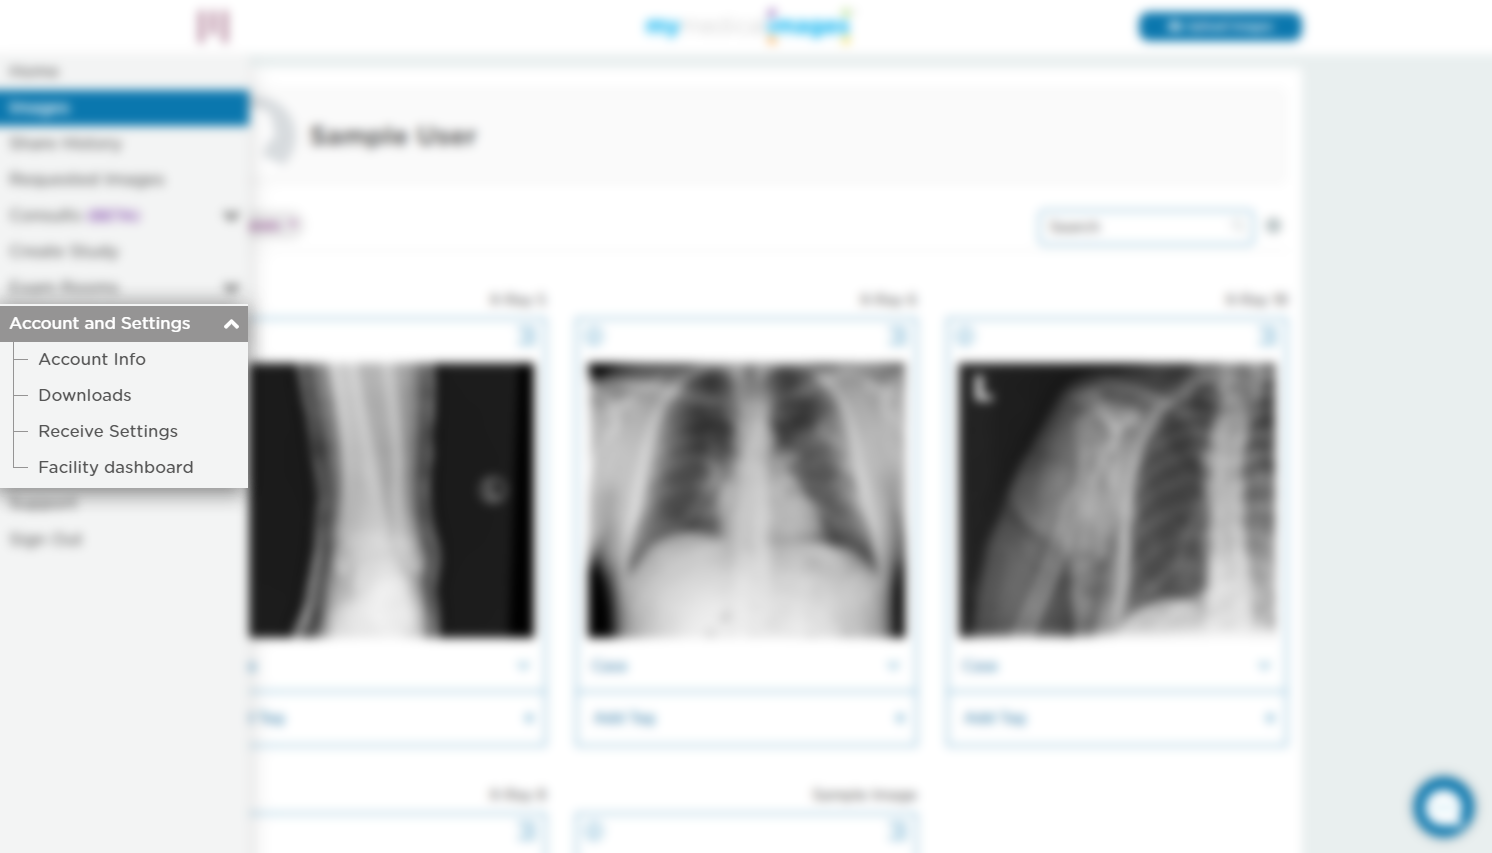
Step 2: Click on the Main Menu icon in the top left-hand corner of the page.

Step 3: Select the “Account and Settings” dropdown menu, then click on the “Account Info” option.
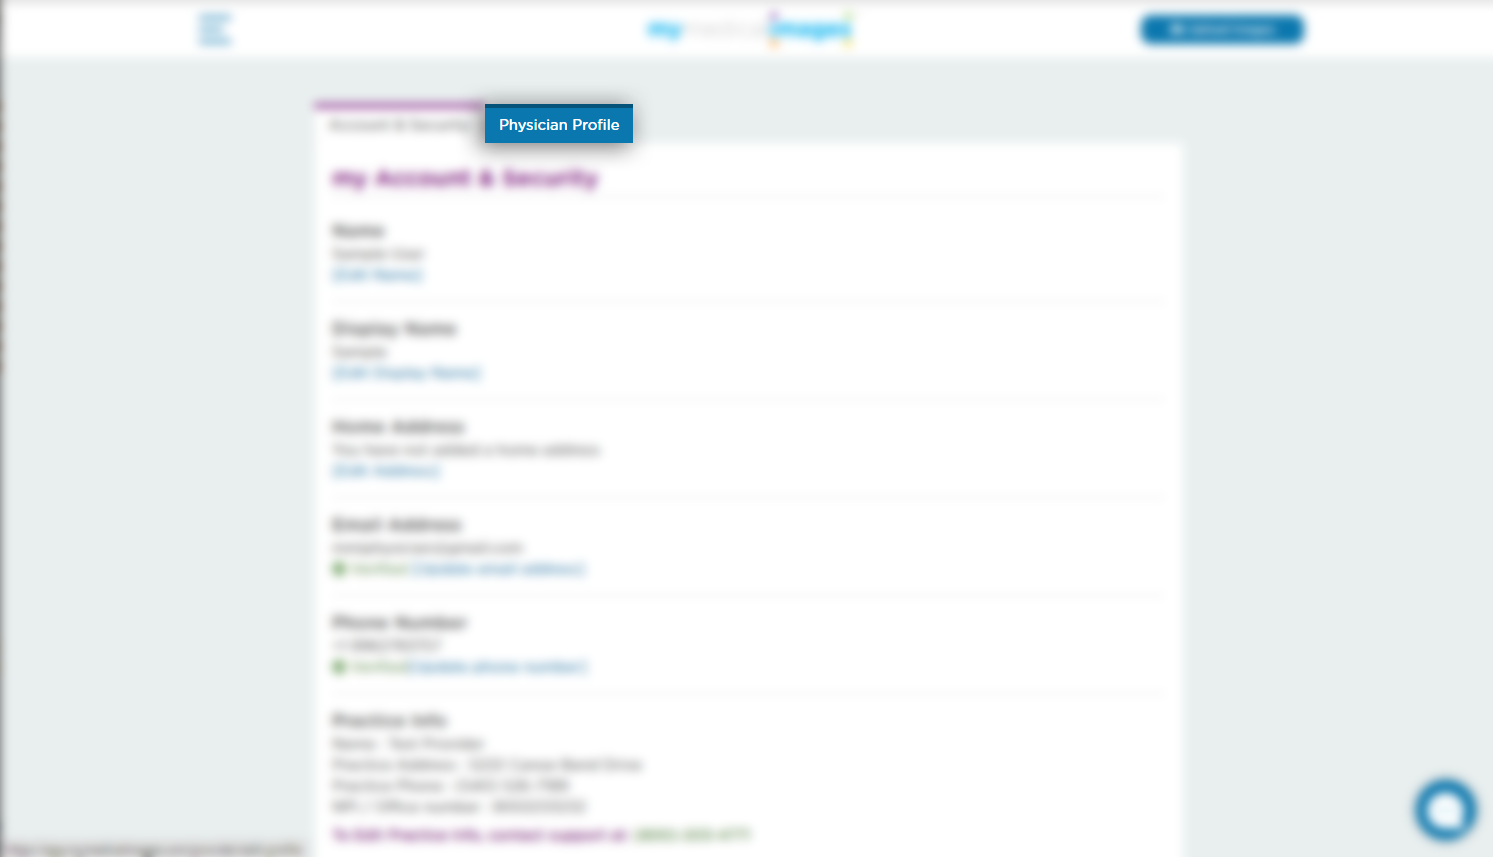
Step 4: Click on the “Physician Profile” tab located at the top of the page.
On the “Physicians Profile” page, you can freely edit a number of options that will allow patients and fellow physicians to better decide if you would be a good choice for a consultation or second opinion.
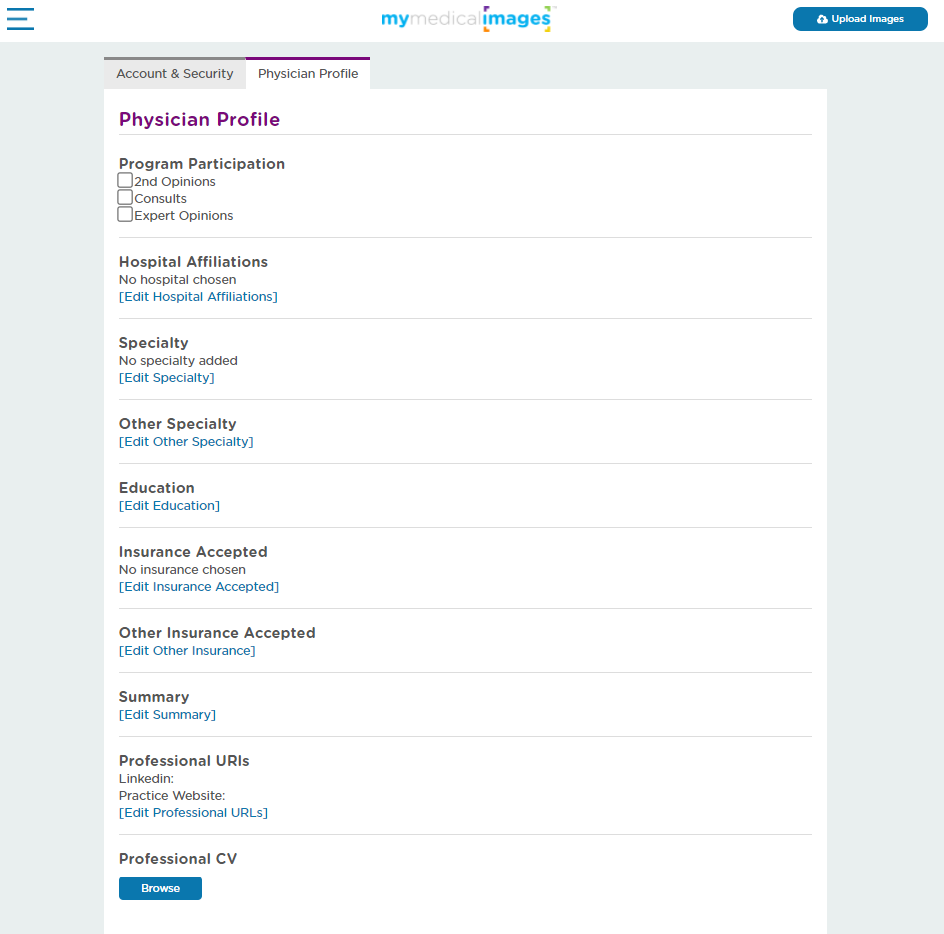
The options that can be changed and the ways in which they can be edited will be detailed below. Any information added to your profile page will be accessible by the mymedicalimages Physician Lookup Tool.
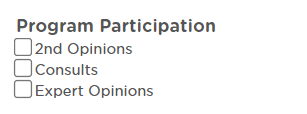
Program Participation
This option will allow you to opt-in or opt-out of the programs that mymedicalimages offers users. This includes the 2nd Opinions, Consults, and Expert Opinions features. This information will be utilized by the Physician Lookup Tool.
To opt-in, simply check the box of the corresponding program you would like to participate in. To opt-out, leave the box blank.
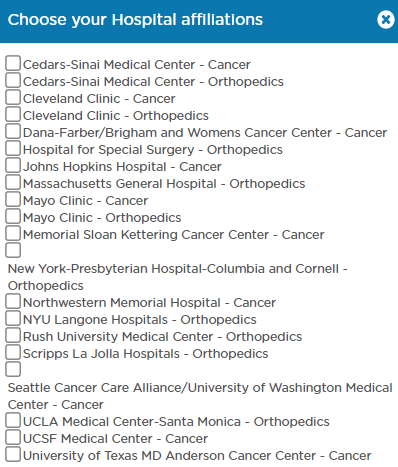
Hospital Affiliations
This option will allow you to show that you are affiliated with a specific hospital that is associated with my medical images. This information will be utilized by the Provider Lookup Tool.
To start editing this option, click on the blue “Edit Hospital Affiliations” button located underneath the header of the section.
In the pop-up window, click the checkbox for the hospital you are affiliated with. After selecting this option, you will show up as a physician of this hospital in any searches done through our website.
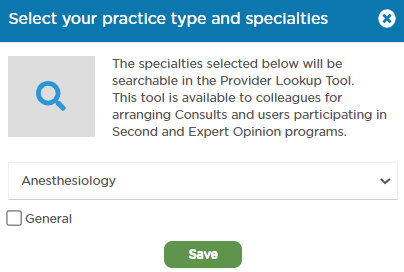
Specialty
This option can be used to designate the particular field that you specialize in. This information will be utilized by the Physician Lookup Tool.
To choose your field, click on the blue “Edit Specialty” button.
In the pop-up window, you can select your medical field by opening the dropdown menu and clicking on the field you specialize. After selecting your field, you can select your specialty by checking off the boxes that apply.
When you have chosen your specialty, click on the green “Save” button to save the changes you’ve made to your profile.
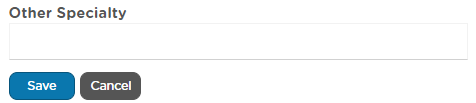
Other Specialty
For additional specialties to your profile, you can use the Other Specialty option. Any information you put will be utilized by the Physician Lookup Tool.
To add in another specialty, click on the blue “Edit Other Specialty” button.
The secondary specialty can be written into the text field provided. After you have done this, click the blue “Save” button to save the changes you have made to your profile.
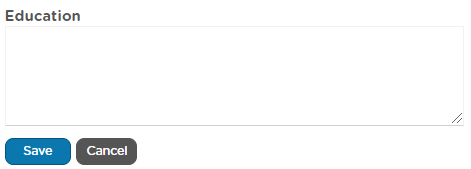
Education
This option will allow you to add your educational background to your profile. Any information you put will be utilized by the Physician Lookup Tool.
You can change this information by clicking the blue “Edit Education” button.
In the text field provided, you can write in your educational background, including the schools you’ve attended and the degrees or doctorates you have earned. Once you are done editing the information, click on the blue “Save” button.
Any information you provide will be accessible with the Physician Lookup Tool.
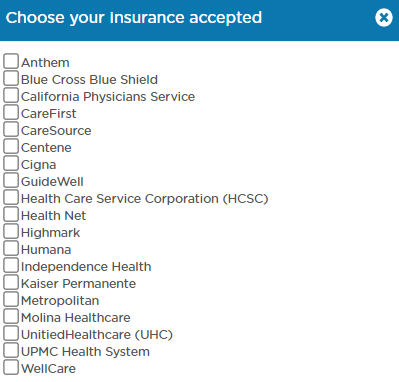
Insurance Accepted
This option will allow you to designate what insurance your practice accepts. This information will be accessible to anyone using the Physician Lookup Tool.
To edit the information associated with your profile for this option, click on the blue “Edit Insurance Accepted” button.
In the popup window, select the insurance plans that apply to your practice. Once you have selected the appropriate options, click on the white “X” button in the top-right of the popup to close the window.
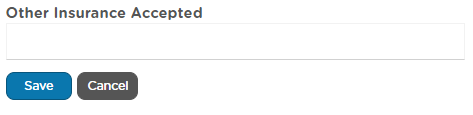
Other Insurance Accepted
If you accept an insurance plan that is not displayed in the “Insurance Accepted” option, you can write it in manually using the “Other Insurance Accepted” option. Any information given will be acceptable to anyone utilizing the Physician Lookup Tool.
To edit the information for the option, click on the blue “Edit Other Insurance” button.
In the text field provided, write in the names of the insurance plans that you accept. Once everything has been added, click on the blue “Save” button.
Summary
This option allows you to add a brief summary of your practice to your profile. Any information given in this section will be accessible by anyone utilizing the Physician Lookup Tool.
To begin editing this section, click on the blue “Edit Summary” button.
In the text field provided, enter the summary you would liked displayed for your profile, then click on the blue “Save” button.

Professional URLs
This section will allow you to add in the URLs for your Linkedin or the website associated with your practice. Any information given in this section will be accessible by anyone using the Physician Lookup Tool.
To begin editing, click on the blue “Edit Professional URLs” button.
In the Text field provided, write in the URL for either your Linkedin profile, or the website for your practice. Once you have entered in the information, click on the blue “Save” button.

Professional CV
This option will allow you to upload a copy of your Curriculum Vitae. The file you choose to upload must be a PDF. Any information given in this section will be accessible by anyone using the Physician Lookup Tool.
To upload your CV, click on the blue “Browse” button to open the file search window for your computer.
In the popup window, locate the file you would like to upload, then click on the “Open” button in the bottom right-hand corner of the popup window. Your CV will be uploaded to our site and displayed on your Profile page.


