Functions In The DICOM Viewer
The mymedicalimages viewer has a variety of functions that can be utilized while viewing your images. These functions are located in the tool bar along the top of the viewer.

In this section we will provide a brief overview of all the functions you have access to.
![]() WW/WC
WW/WC
This function allows you to adjust the Window Width and Window Contrast of a study in order to highlight or diminish certain areas of the image.
After selecting the function, click and drag the mouse up and down on the study to change the width, or side to side to change the contrast.
![]() Pan
Pan
The pan function allows you to change the position of the study within the viewer.
By clicking and dragging the mouse, you can put the study in the position that you prefer.
![]() Zoom
Zoom
The zoom function allows you to adjust how large or small the study appears in the viewer.
By clicking and dragging the mouse, or by scrolling with your mouse wheel, you can adjust the study to your desired size.
![]() Mag
Mag
This function acts as a magnifying glass.
By clicking and holding the mouse button, you can magnify the study loaded in the viewer to get a better view of any fine details.
![]() Scroll
Scroll
This function allows you to advance the slides of the study currently loaded in the viewer.
By scrolling with your mouse wheel or by using your arrow keys, you can advance the image forward or backward through it’s series.
![]() Layout
Layout
This function allows you to change the layout of the viewer, allowing you to change the amount of studies that are loaded at once.
You can choose between the following layouts:
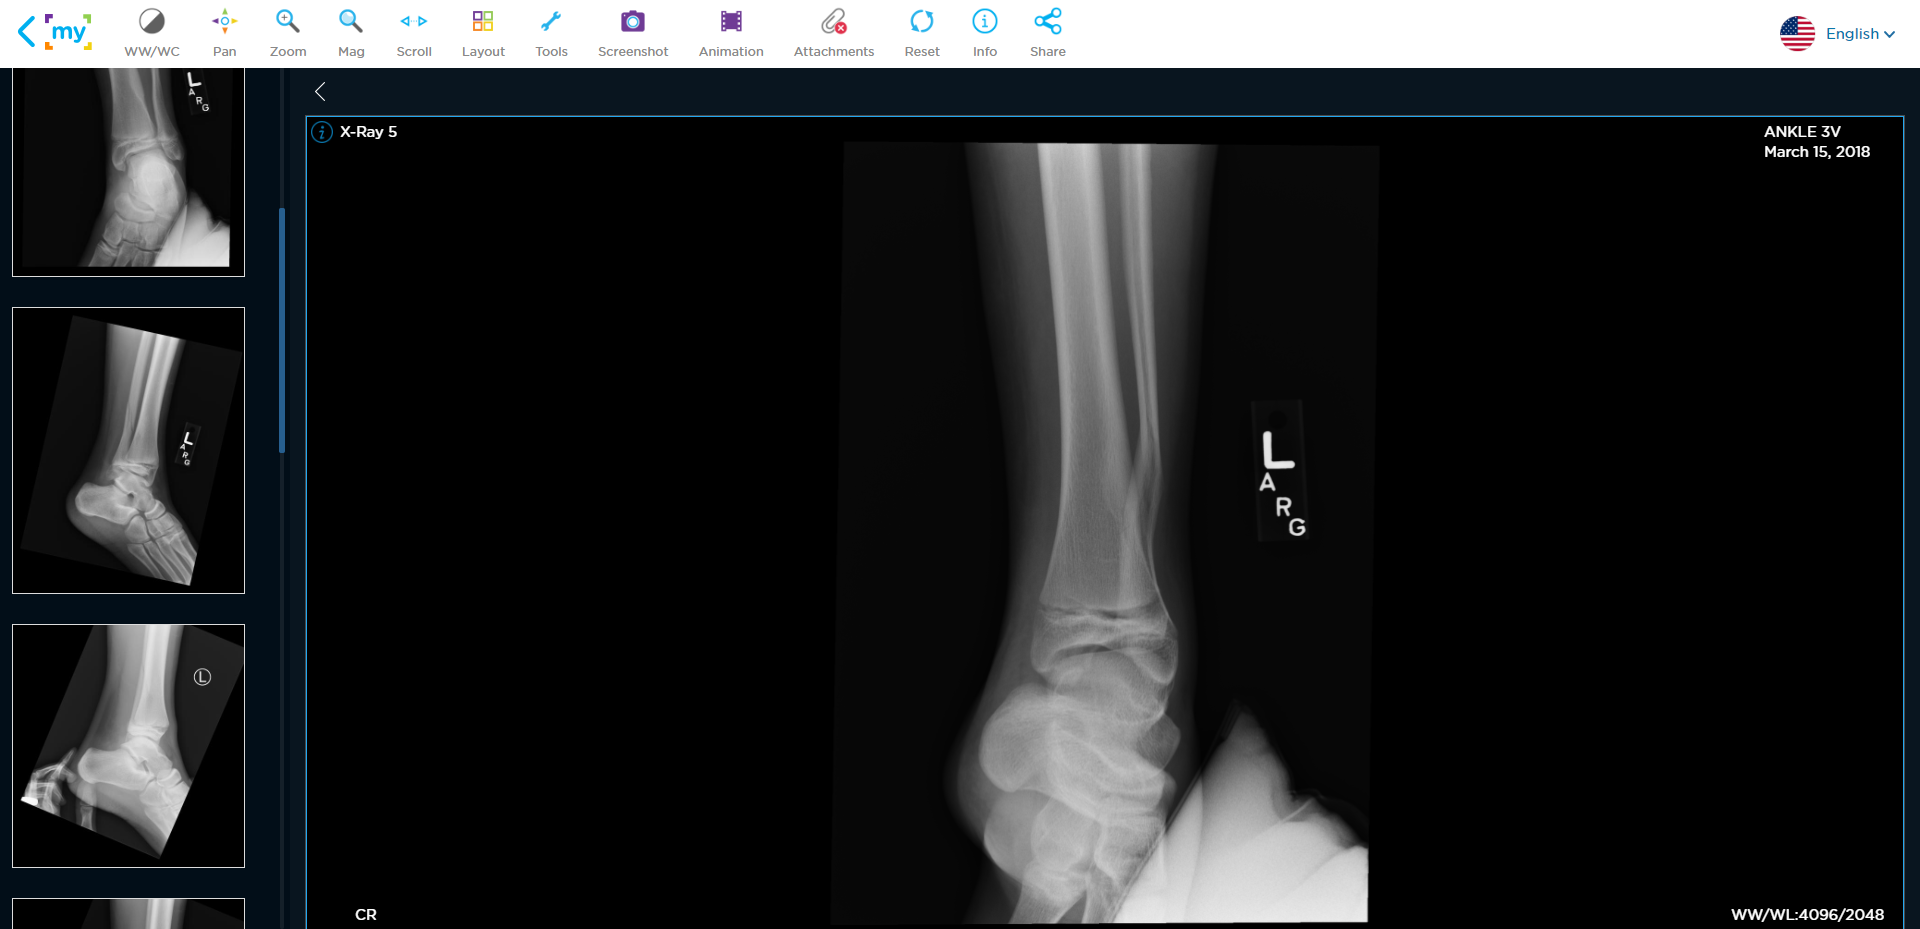
single study layout (This is selected by default)

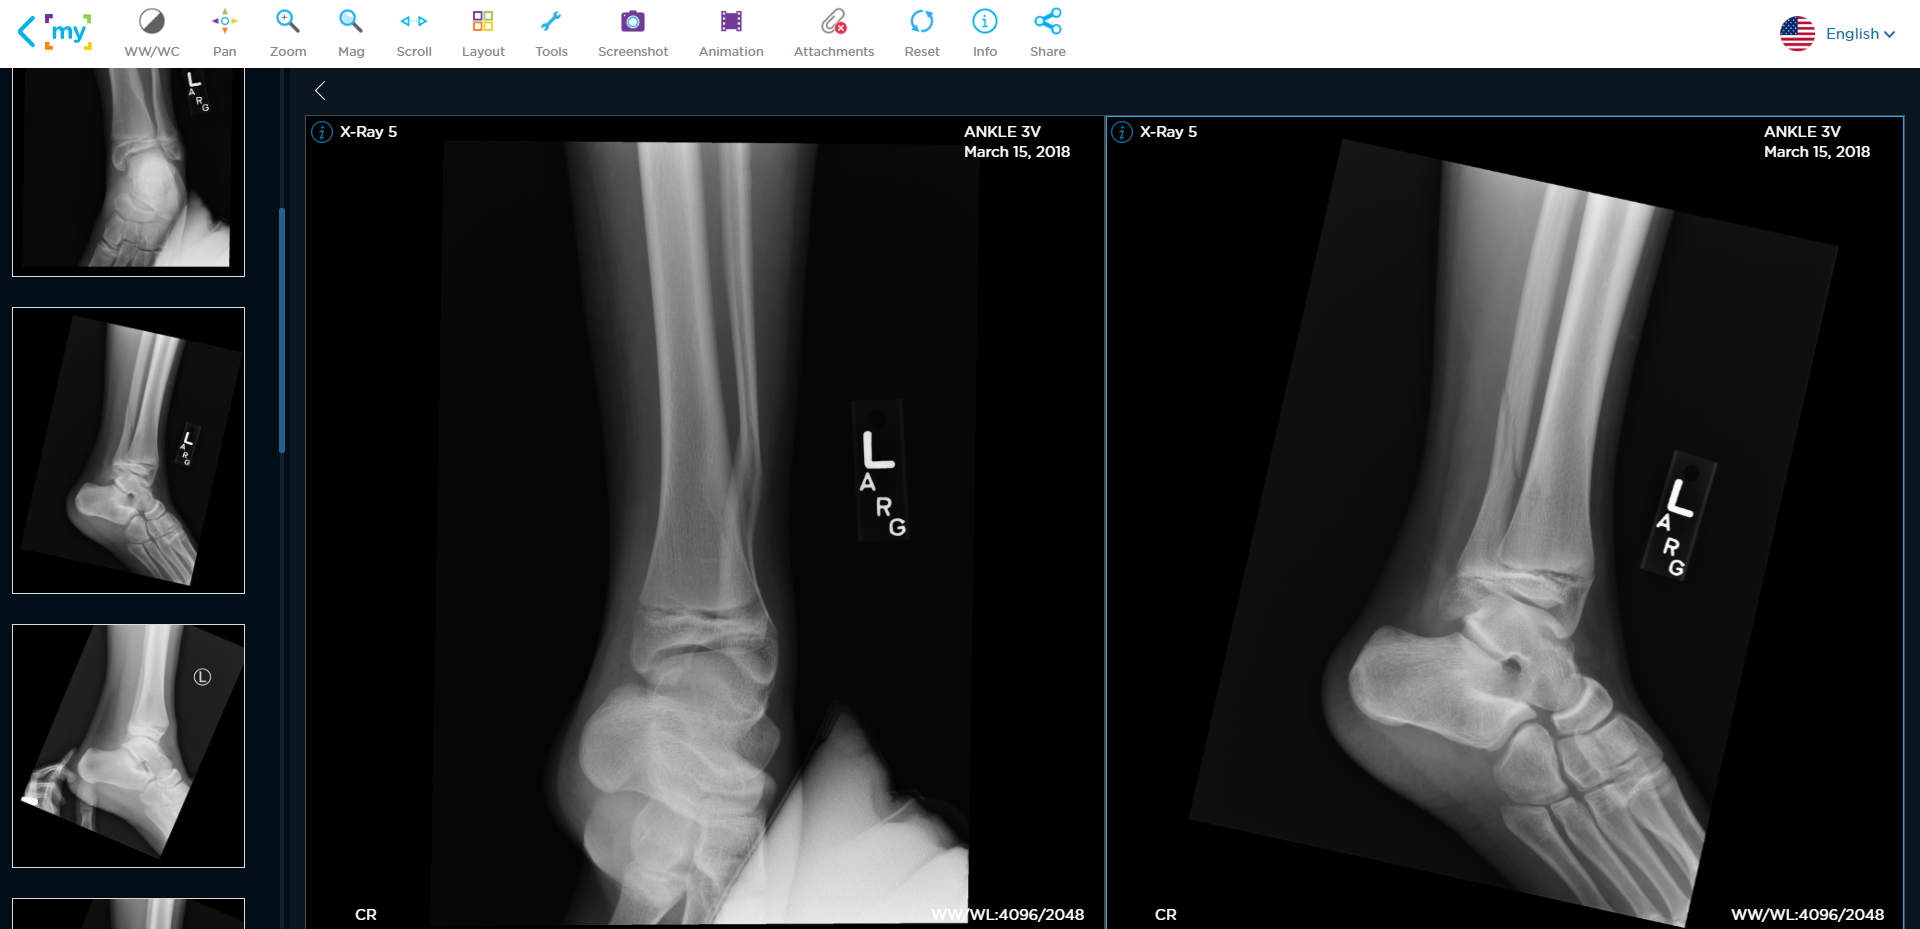
side-by-side layout

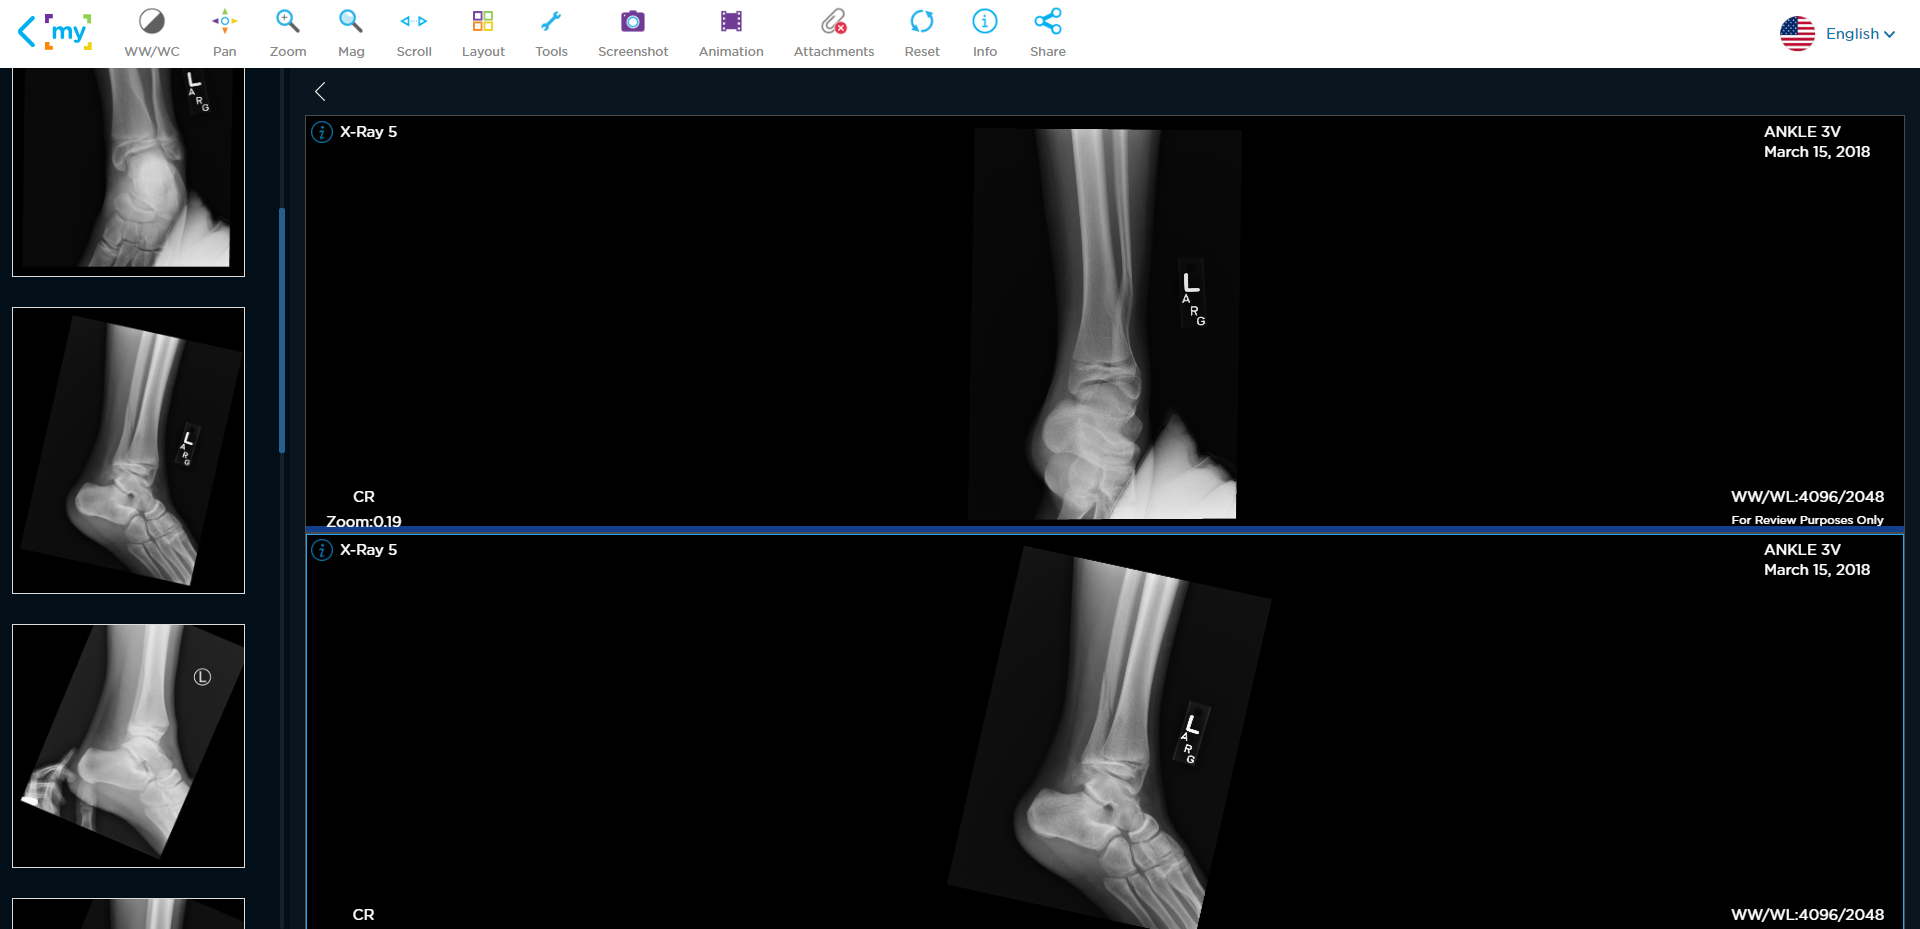
above-and-below layout

2×2 layout

![]() Tools
Tools
This function will open a submenu that has a a variety of tools that you can use to manipulate the study that is currently loaded in the viewer.

The tools available are as follows:
![]() Angle: This tool allows you to measure the angles of any given points in the study loaded.
Angle: This tool allows you to measure the angles of any given points in the study loaded.
![]() Length: This tool allows you to measure the length between two points in the study loaded.
Length: This tool allows you to measure the length between two points in the study loaded.
![]() Highlight: This tool allows you to create a box that highlights a specific area of the study loaded.
Highlight: This tool allows you to create a box that highlights a specific area of the study loaded.
![]() ROI: This tool allows you to measure a region of interest in the study loaded.
ROI: This tool allows you to measure a region of interest in the study loaded.
![]() Annotate: This tool allows you to add annotations to the study loaded.
Annotate: This tool allows you to add annotations to the study loaded.
![]() Clear: This tool allows you to clear any changes you have made to the loaded study using any of the tools.
Clear: This tool allows you to clear any changes you have made to the loaded study using any of the tools.
![]() Screenshot
Screenshot
This function allows you to take a screenshot of the study currently loaded into the viewer.
After clicking on this function, you will receive a pop-up window with the options “Take Viewer Screenshot”, “Take Screenshot” and “Cancel”.

“Take Viewer Screenshot” will take a screenshot of just the viewer.
“Take Screenshot” will take a screenshot of everything currently being displayed on your computer.
“Cancel” will close the pop-up window.
![]() Animation
Animation
This function will open a submenu that will have a number of options for animating the study.

Below is a brief description of each of the options you will have available.
![]() Play: This button begins playing the series as an animation.
Play: This button begins playing the series as an animation.
![]() Stop: This button stops the animation of the series.
Stop: This button stops the animation of the series.
![]() Faster: This button increases the speed the animation is played at.
Faster: This button increases the speed the animation is played at.
![]() Slower: This button decreases the speed the animation is played at.
Slower: This button decreases the speed the animation is played at.
![]() Attachments
Attachments
This function allows you to view, add, or delete any attachments associated with the study loaded in the viewer.
After clicking on this function, a menu will be added below the viewer containing all of the attachments currently associated with the study.

Attachments are separated into three categories: Notes, Reports, and Photos. Each attachment will be located under their respective categories.
You can also upload attachments by clicking on the blue cloud icon underneath each category. This will open your computers file browser, and allow you to select the file you would like to include in the study.
Depending on the type of attachment, it will be displayed in a different manner that will be detailed below.
PDF, Image Files (JPG,PNG,etc.), and TXT files: These files will open in a separate tab on your browser for you to view
Any other files (DOCX, PPT, etc.): These files will be directly downloaded from your browser. Afterwards, you may use the correct program to view the files on your PC.
![]() Reset
Reset
This function will reset any changes made to the study using the WW/WC, Pan, Zoom, Mag, Scroll, Layout, Tools, and Animation functions. Any Screenshots taken, Attachments added, or Shares sent will not be affected.
![]() Info
Info
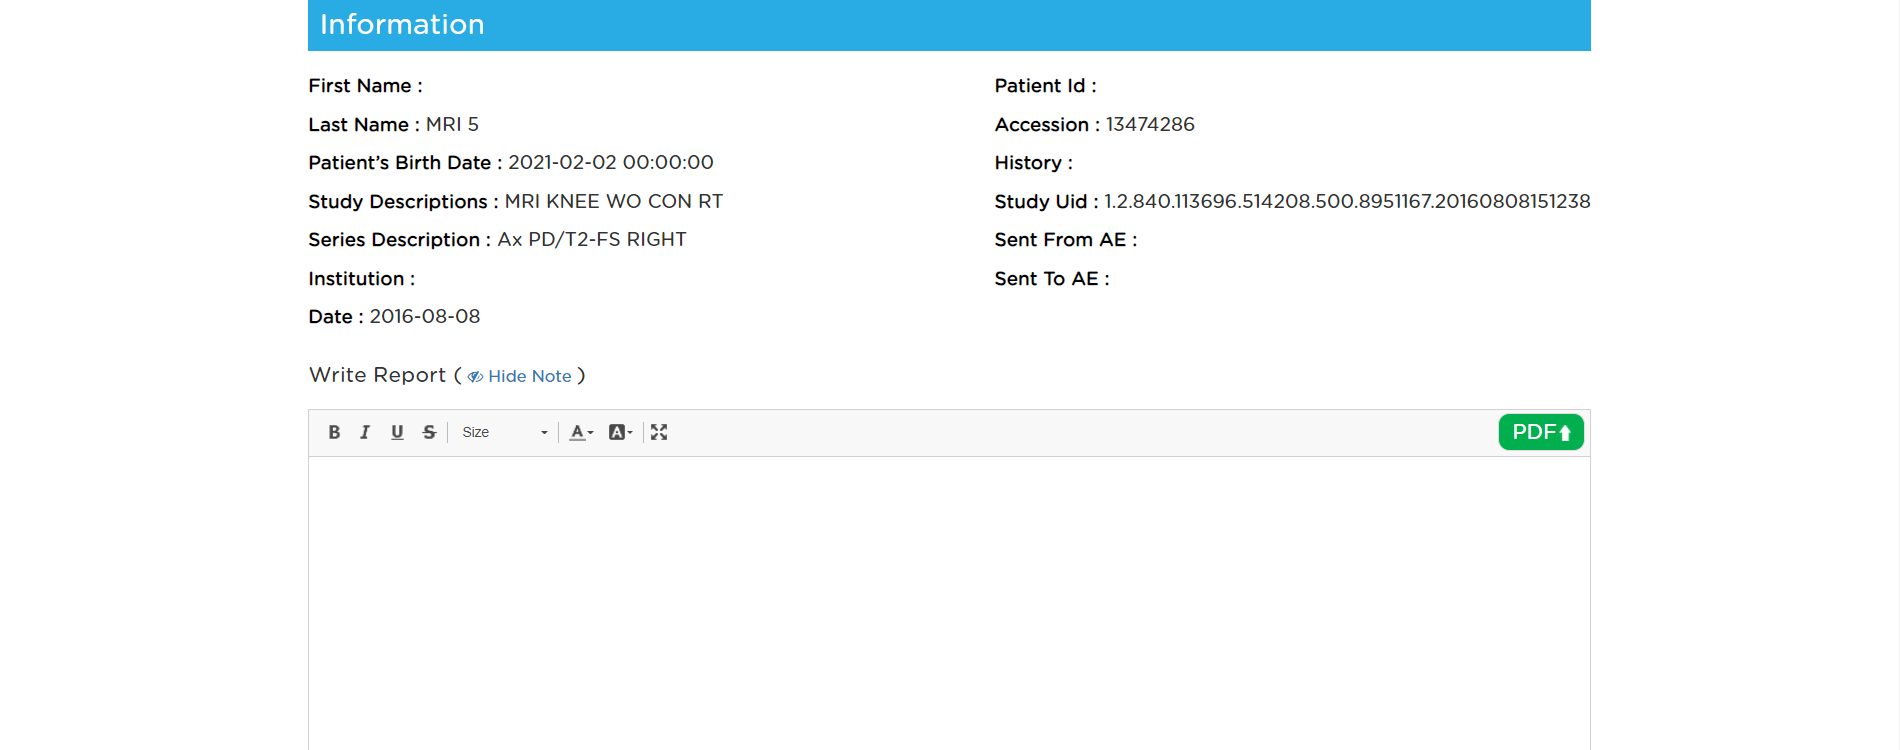
This function will add the information section of the currently loaded study to the viewer.

This section will include the following information:
- First Name
- Last Name
- Patient’s Birthdate
- Study Descriptions
- Series Description
- Institution
- Date Taken
- Patient I.D.
- Accession
- History
- Study U.I.D.
- Sent From AE Title
- Sent to AE Title.
You can also add in any other notes in the text field below, then convert them into PDF attachments linked to the study using the green “PDF” button.
![]() Share
Share
This function allows you to access the mymedicalimages share feature from within the viewer, letting you share the study to someone after any attachments, reports or notes have been added to it. Changes made using the WW/WC, Pan, Zoom, Mag, Scroll, Layout, Tools, and Animation functions will not be shared.
Clicking on the function will take you directly to the “Share Study” page of our website, where you’ll fill out the information of the person you would like to share the study with.


