Creating an Exam Room
Step 1: Log-in to your mymedicalimages account at https://app.mymedicalimages.com/.
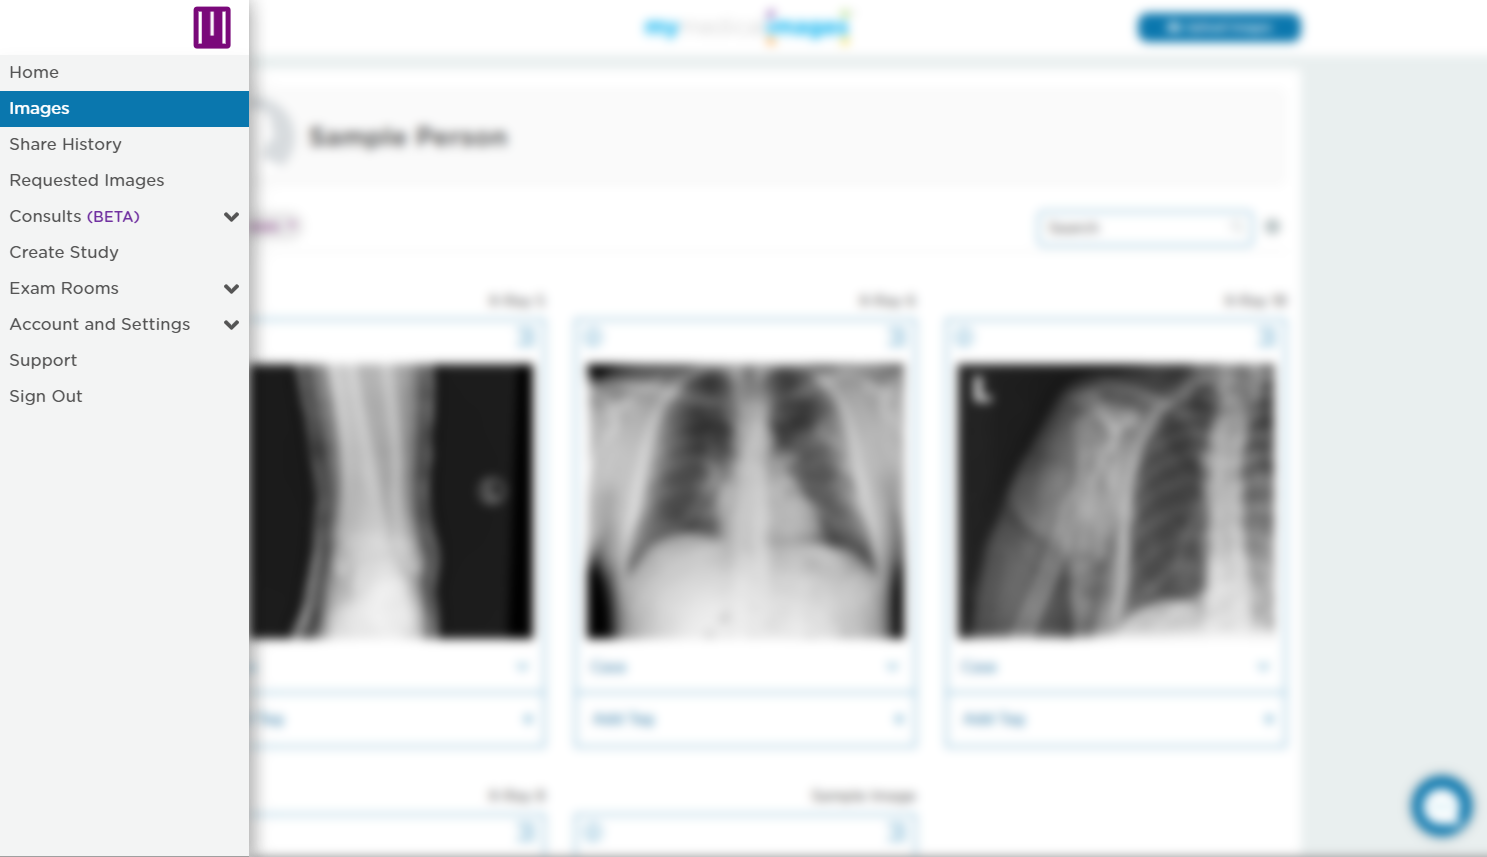
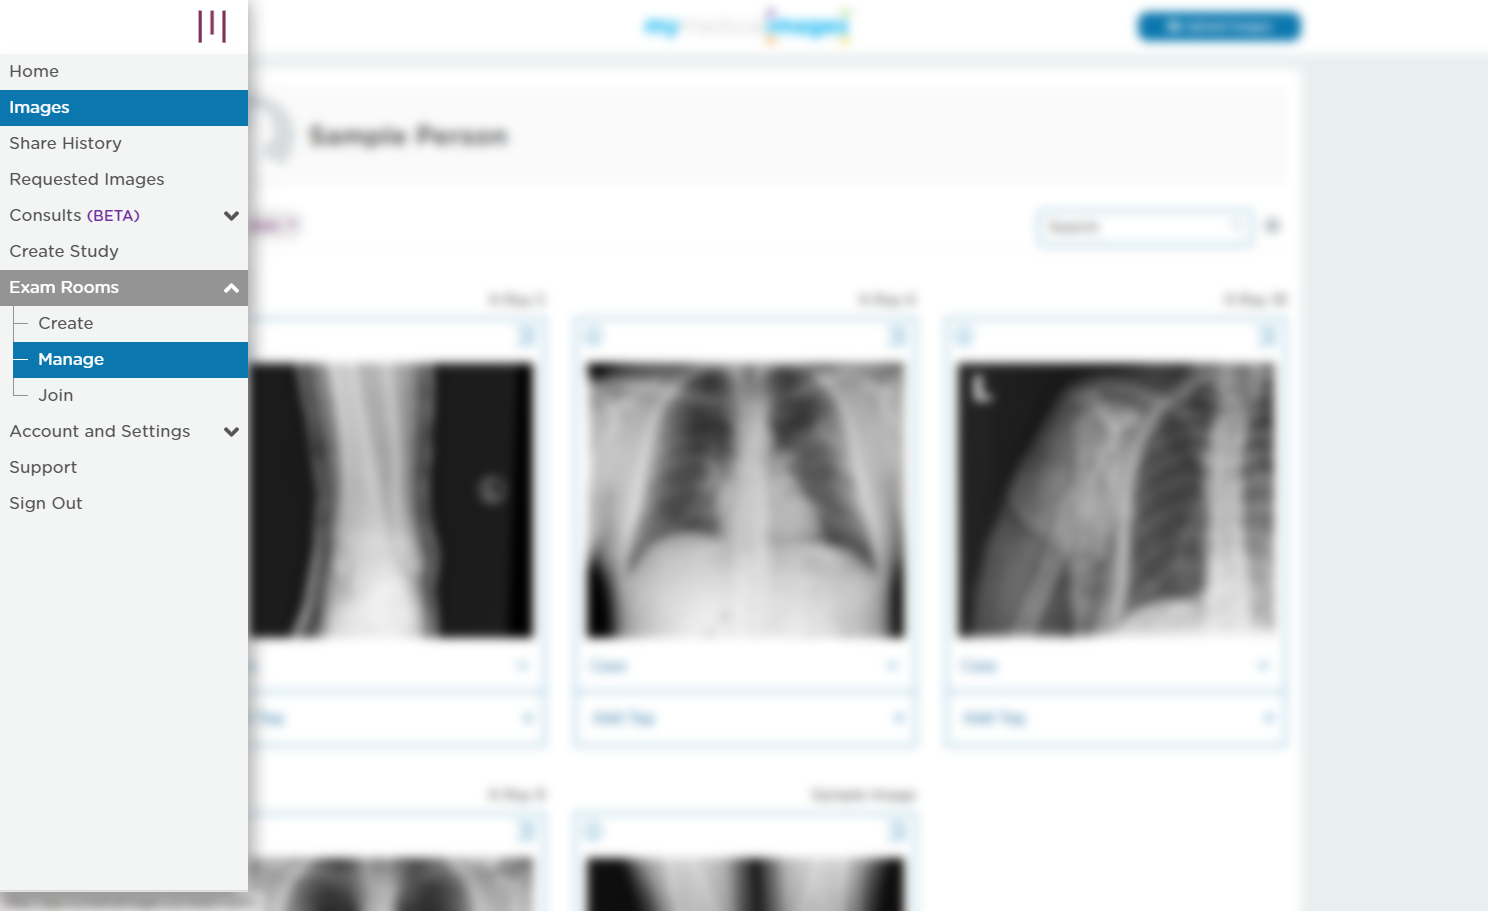
Step 2: Click on the Main Menu icon in the top left-hand corner of the page.
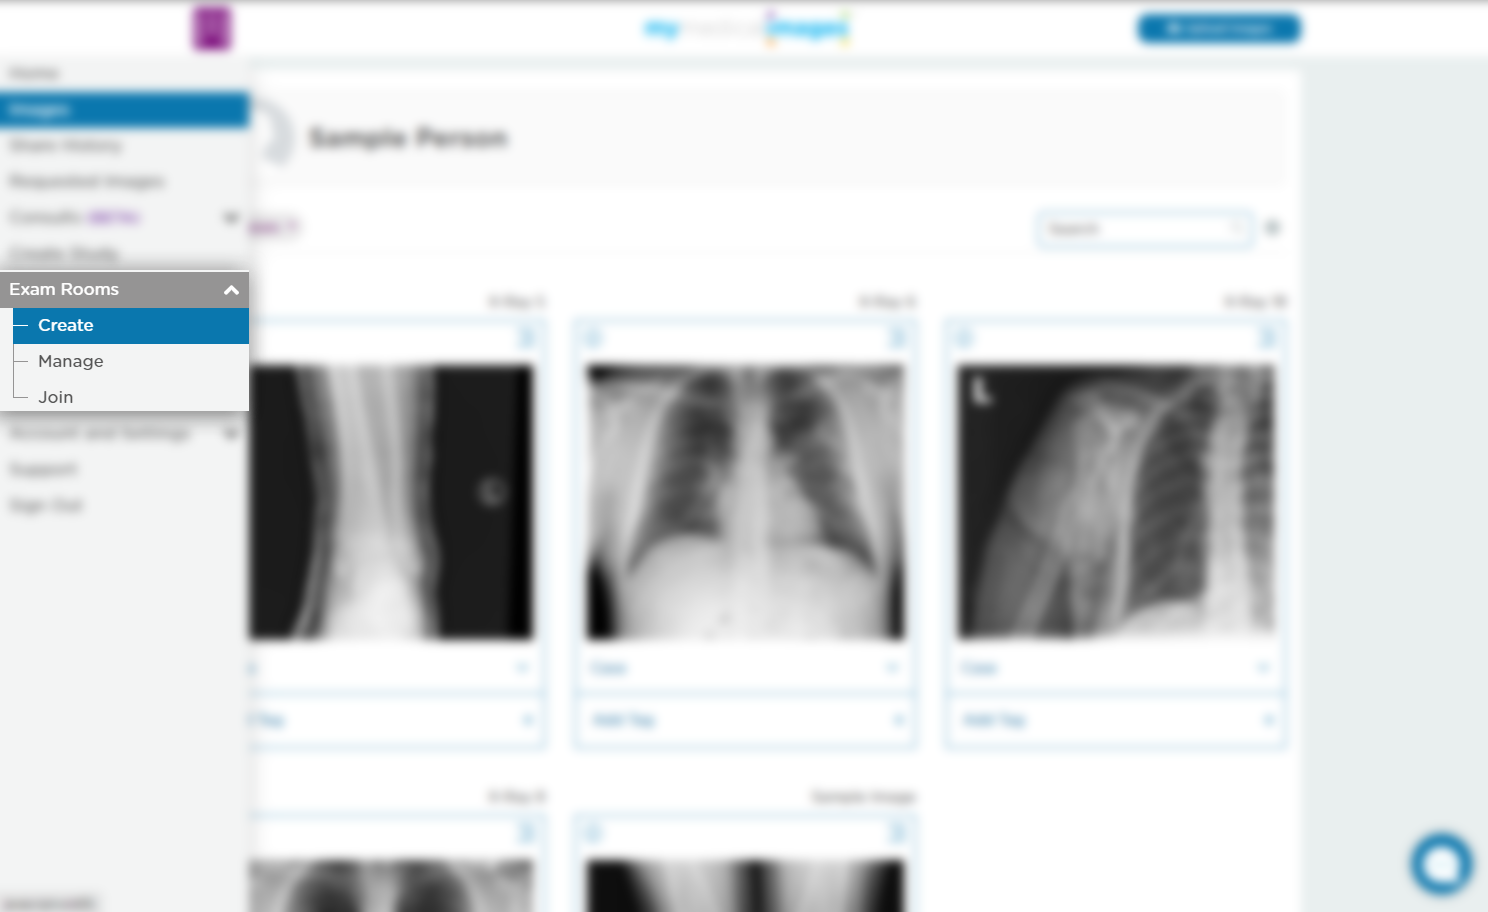
Step 3: Open the “Exam Room” dropdown menu and select the “Create” option.
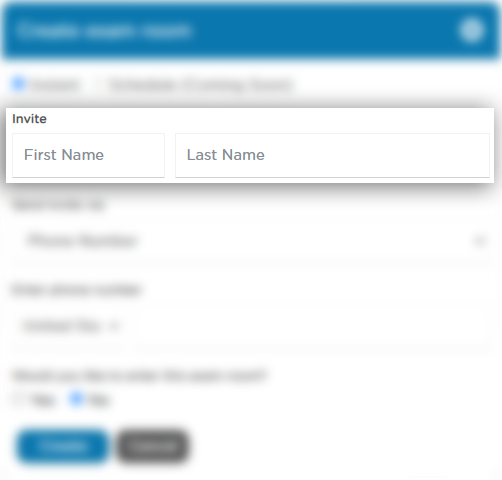
Step 4: You will see a pop up window which will look similar to the image below.
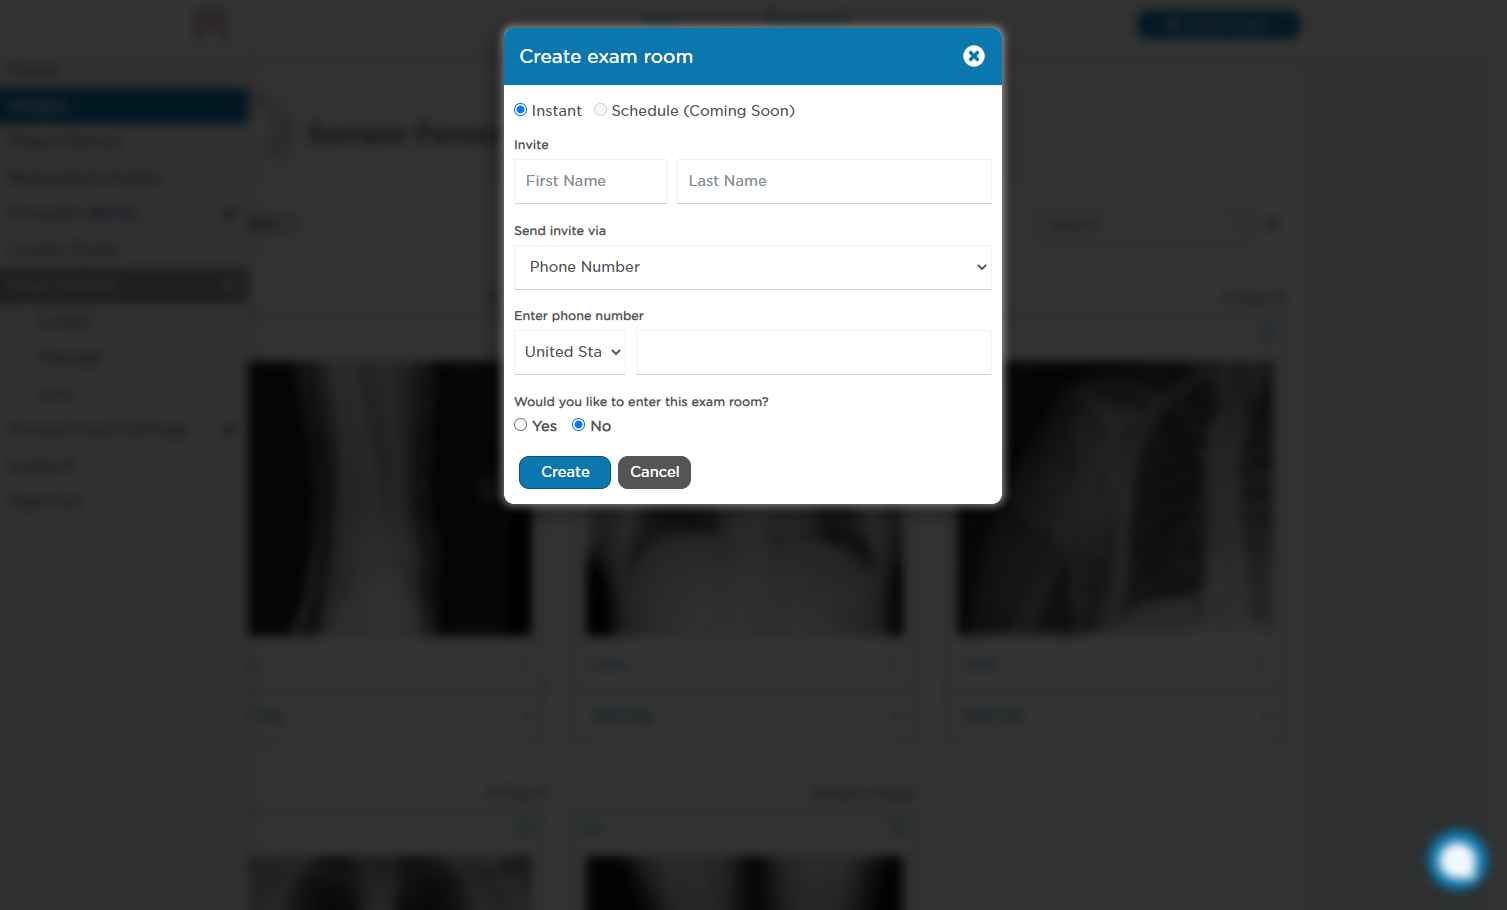
Step 5. Enter the recipient’s First and Last Name.
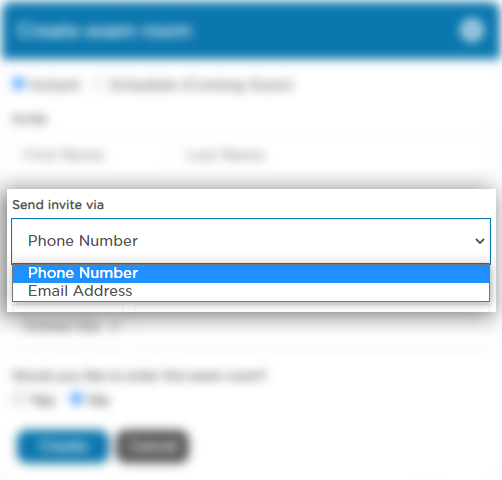
Step 6. Choose whether you want to send the invite via Phone Number or Email Address.
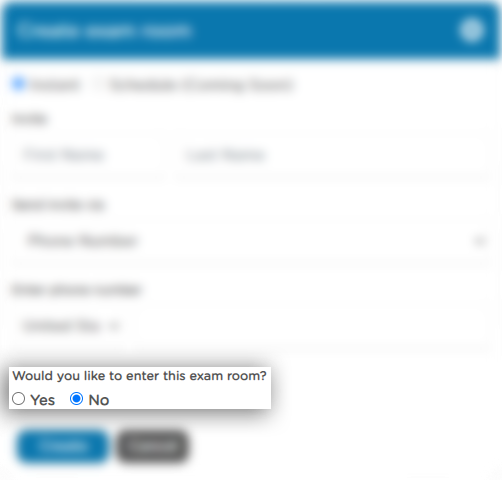
Step 7. You can also choose whether or not you would like to join the room as soon as it’s created, or join it manually later on by selecting either the yes or no option at the bottom of the pop-up.
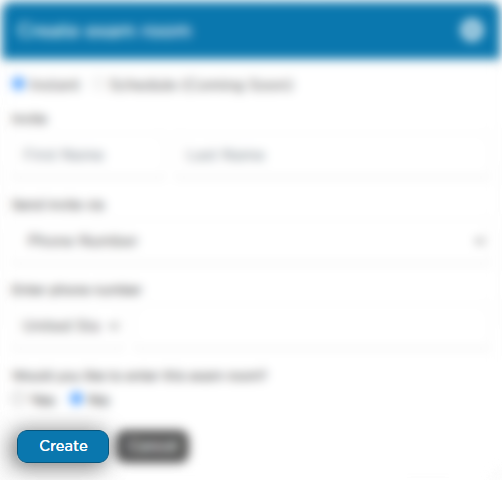
Step 8. Once you have filled everything out, click on the blue “Create” button at the bottom.
Step 6: The exam room has been created, and an invite has been sent out to the information provided previously.
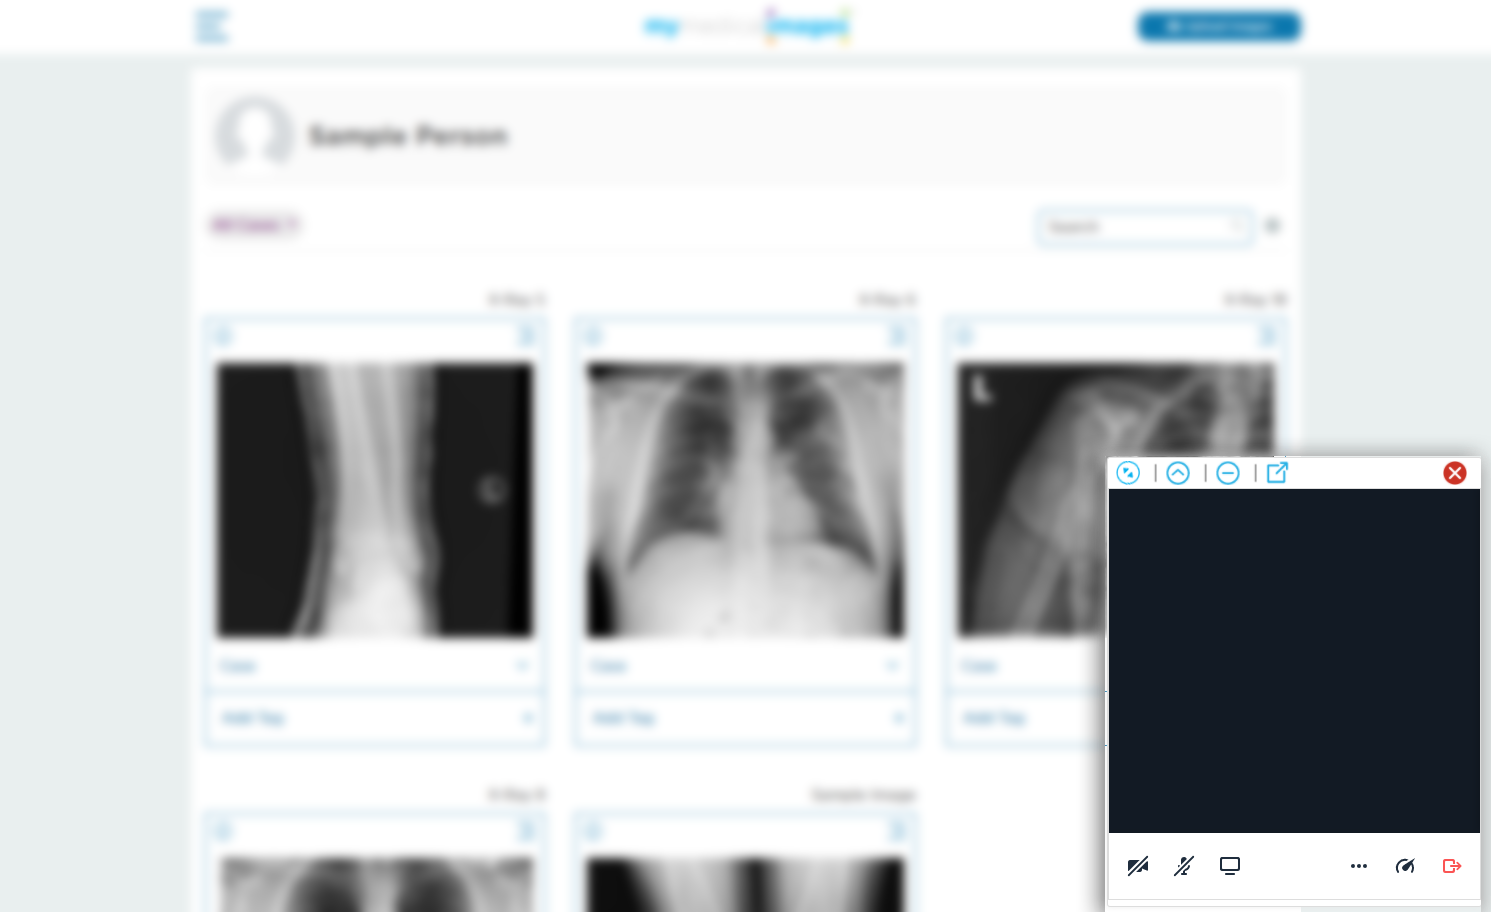
If you chose to enter the exam room in Step 7, you will be sent back to your dashboard with an exam room window in the bottom corner.
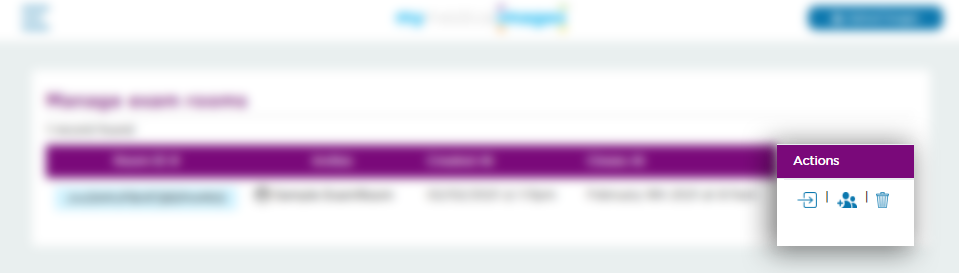
If you chose not to enter the exam room automatically, you can join the exam room by clicking on the “Manage” option from the Exam Room dropdown on the main menu.
Once you’re on that page, click on the ![]() icon to join the exam room.
icon to join the exam room.