
Requesting A Second Opinion
Step 1: Log-in to your mymedicalimages account at https://app.mymedicalimages.com/.
Step 2: Click on the Main Menu icon located in the top left-hand corner of the page.
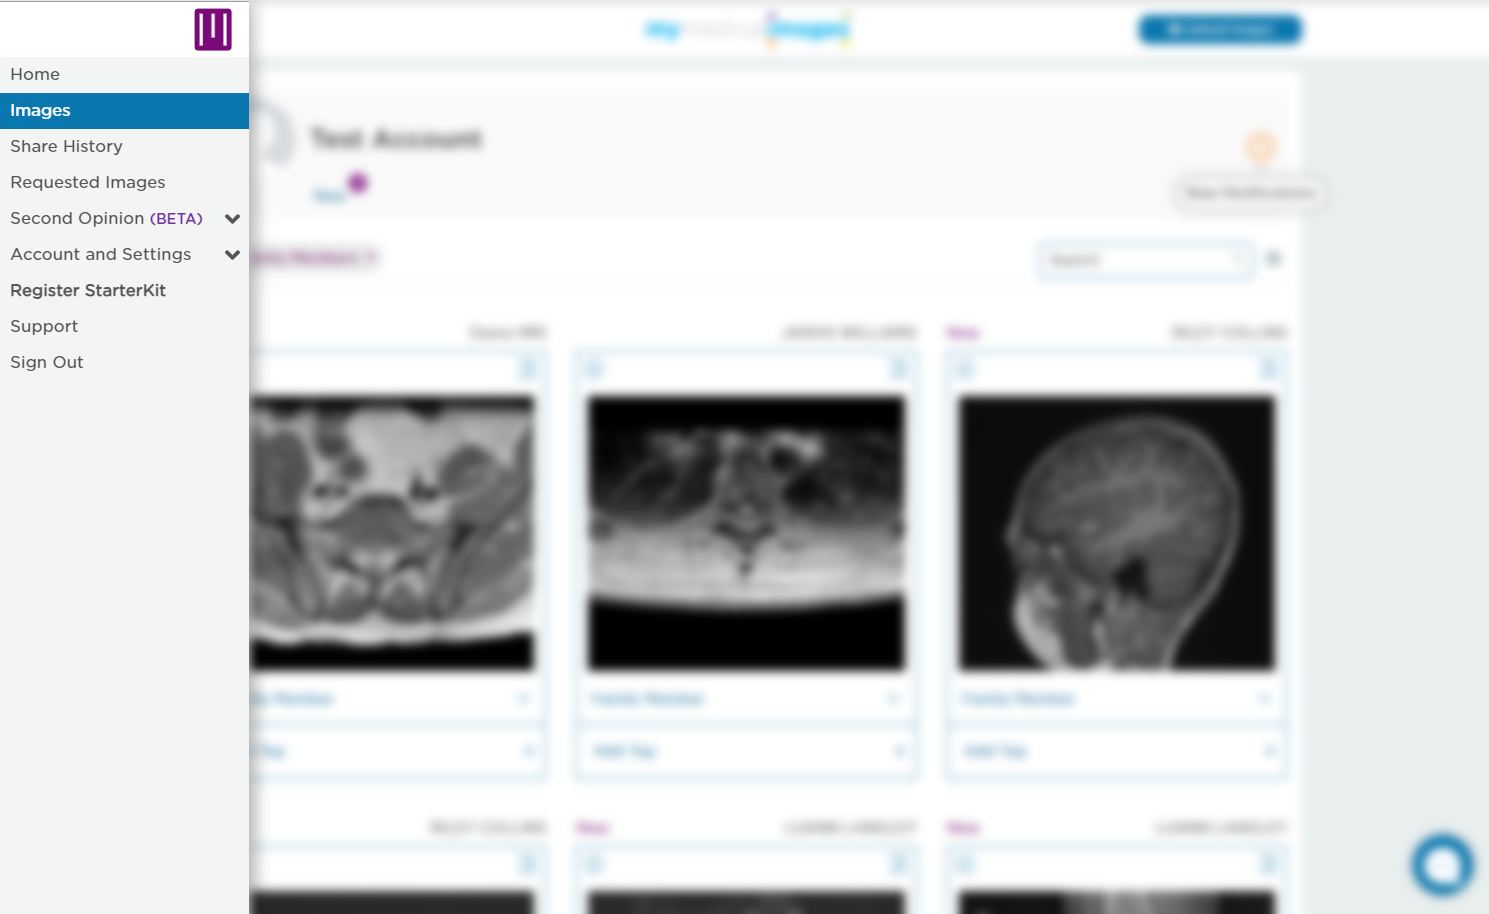
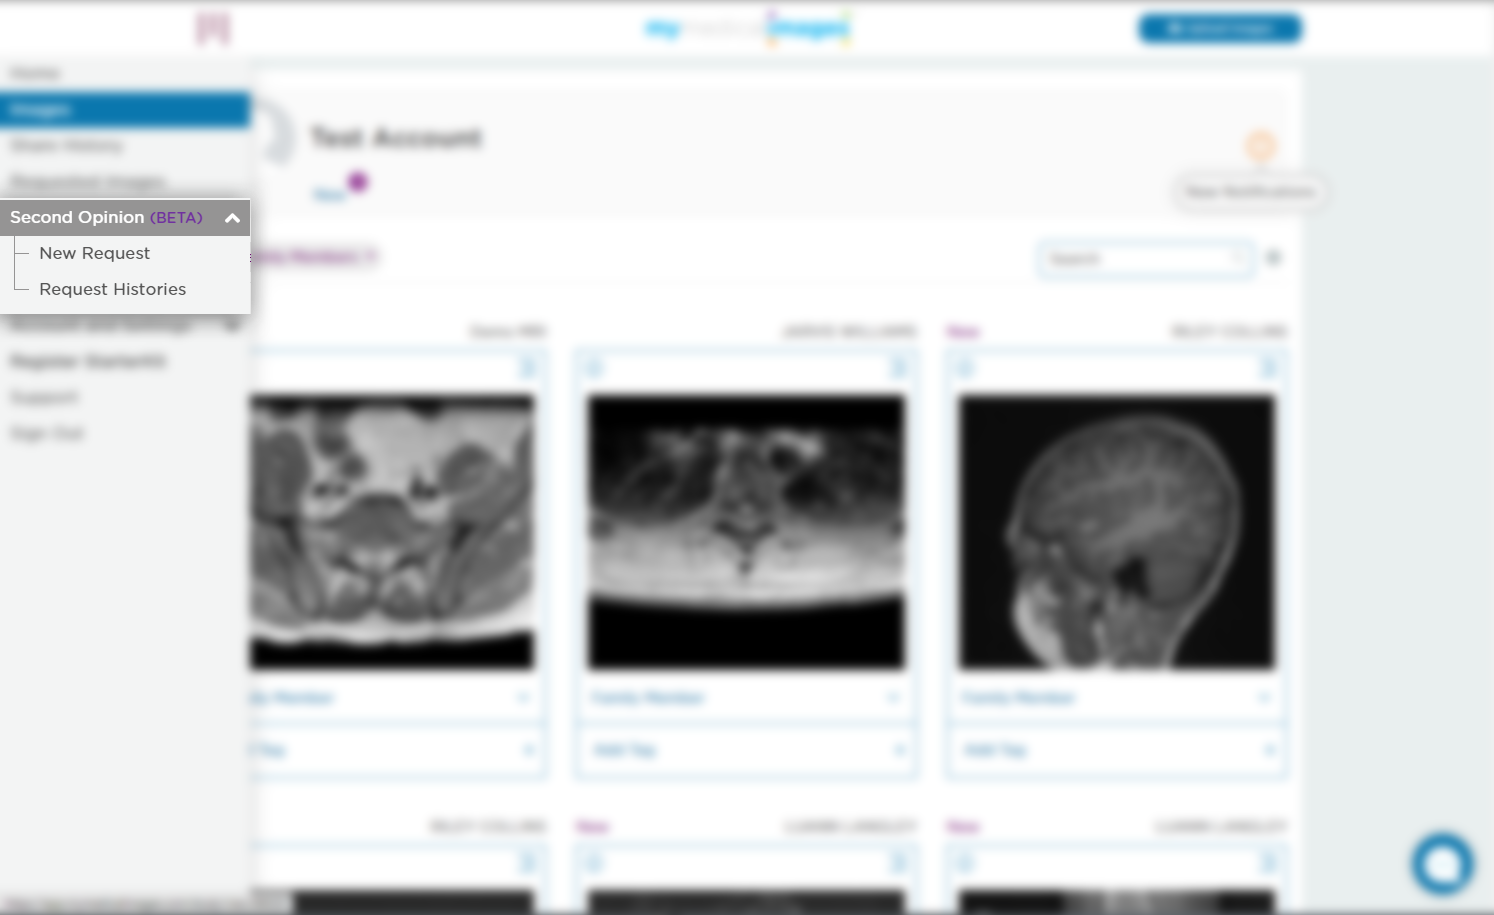
Step 3: Open the “Second Opinion” dropdown menu and click on the “New Request” option.
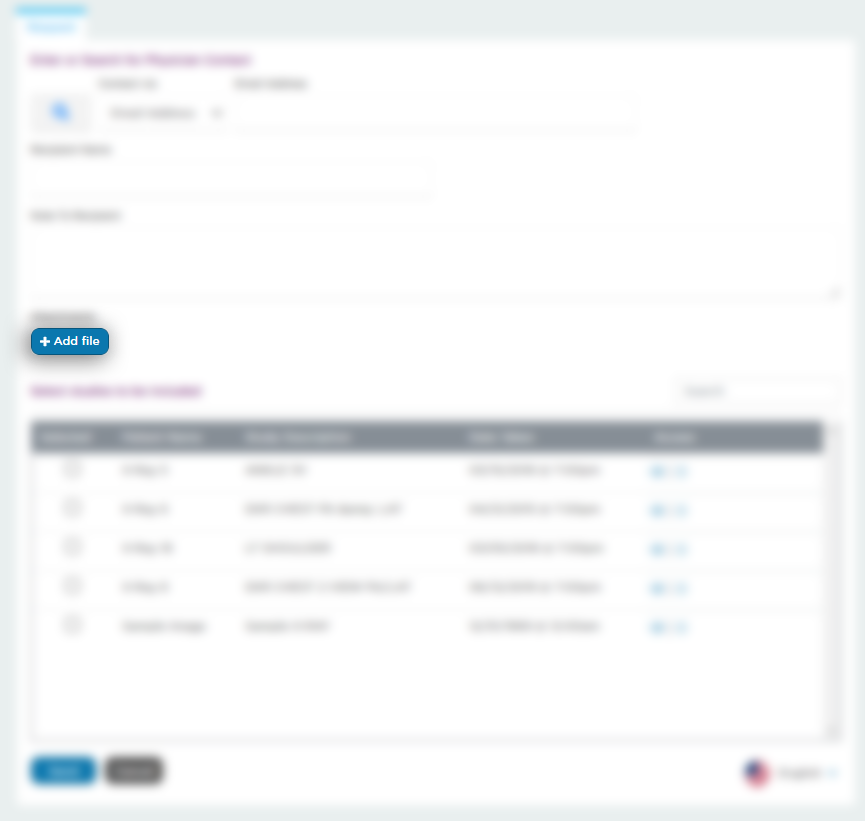
Step 4: In the text fields provided, enter the email address or phone number and name for the Physician you would like to contact for a second opinion, as well as a note describing the images in question.
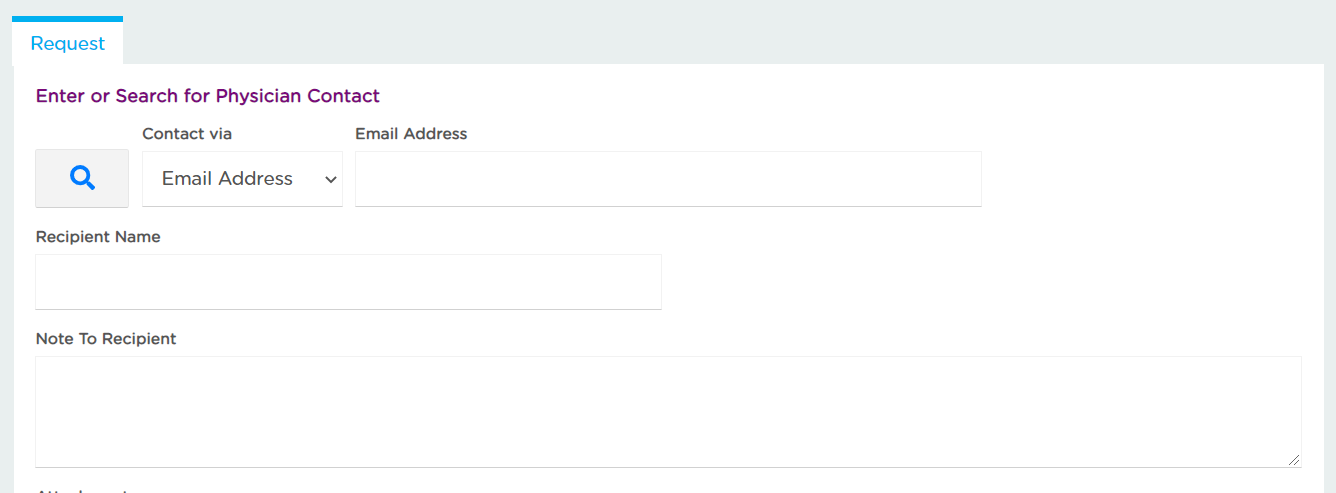
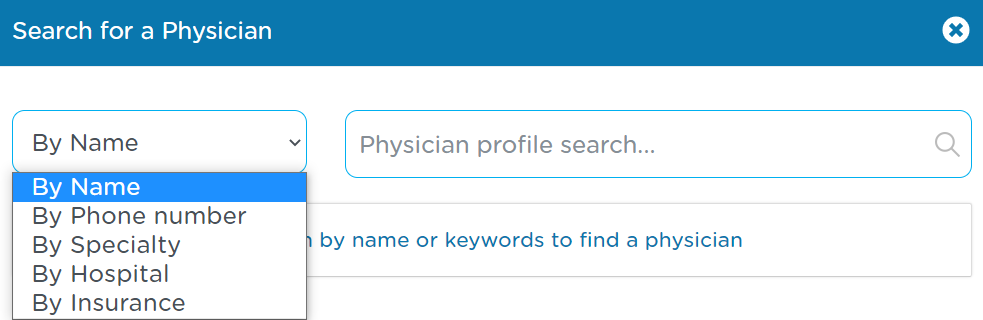
You can also search for Physicians by clicking on the “Magnifying Glass” icon.
In the search tool pop-up window, you can filter by phone number, specialty, hospital, or by insurance accepted.
Step 5: To include any additional files in your second opinion, such as Reports or relevant photos, click the blue “Add file” button.
In the field that appears, click the “Choose File” button to open your computer’s file explorer. If you do not have any additional files, skip to Step 6.

Select the files you would like to include in the second opinion, then click the “Open” button in the bottom right-hand corner of the window.

Step 6: Select the images you would like to send from the table at the bottom of the page by clicking the checkbox next to the image title. You can select multiple images, or search for specific images by entering in the images information into the search bar above the table.
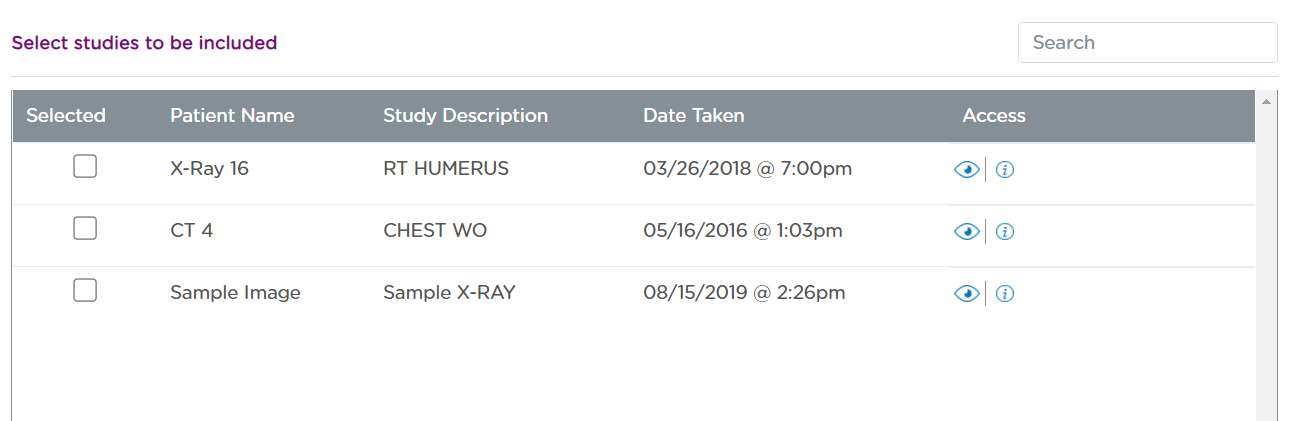
The table contains five sections of information that are used to identify the studies in your account. A brief description of each can be found below.
1. Selected
Allows you to choose which studies you would like to send.
2. Patient Name
Details the name of the patient as it appears in the study.
3. Study Description
Provides a general description of the study.
4. Date Taken
Shows the date the study was originally taken.
5. Access
Contains four options related to the study that was shared, they are as follows:
![]() View
View
This button allows you to view the study that was shared.
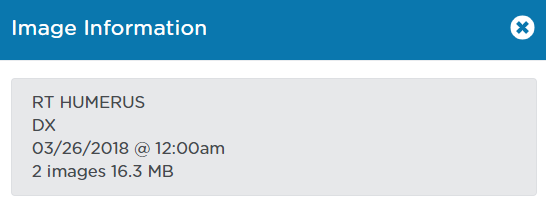
![]() Info
Info
This button will open a pop-up window at the top of the screen with a brief summary of the study’s information.
Step 7: Once you have selected the images you would like to send, click on the blue “Send” button.
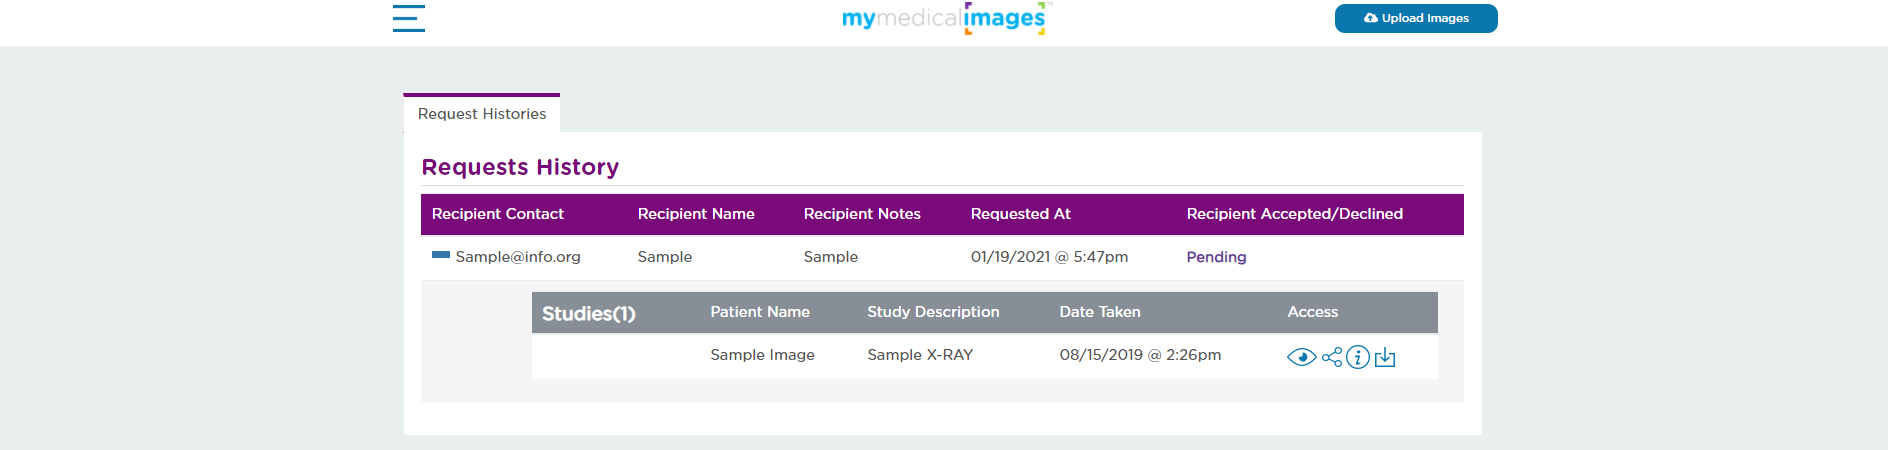
Once the Second Opinion is request has been submitted, you will be navigated to the “Requests History” page for second opinions.
Here you will find a table containing the information of the study you have requested a second opinion for.

There are five sections of the table, each of which will be described briefly below.
1. Recipient Contact
This section contains the email address of the person the second opinion was sent to.
2. Recipient Name
This section details the name of the recipient.
3. Recipient Notes
This section will display the notes you included with the second opinion request.
4. Requested At
This section will give the time and date the second opinion was submitted.
5. Recipient Accepted/Declined
This Section will display the current status of the second opinion. If it has not been viewed yet it will be marked as “Pending”, If it has been accepted it will be marked as “Accepted”, and if it has been declined it will be marked as “Declined”.
If you click on the “Plus” ![]() button, it will open a subtable containing the details of the study or studies that were sent.
button, it will open a subtable containing the details of the study or studies that were sent.
There are four sections of the table containing details related to the study that are detailed below. You can close this subtable by clicking the “Minus” ![]() button.
button.
1. Patient Name
This section details the name of the patient as it appears in the study.
2. Study Description
This section contains a short description of the study.
3. Date Taken
This section will show the time and date the study was submitted for a second opinion.
4. Access
This section contains four options related to the study that was sent, they are as follows
![]() View
View
This button allows you to view the study that was shared.
![]() Share
Share
This button will redirect you to the “Share Study” page and let you share the study with another person.
![]() Info
Info
This button will open a pop-up window at the top of the screen with a brief summary of the study’s information.
![]() Download
Download
This button will allow you to download the study, or the attachments tied to the study. Choose “Download Images” for the study, or “Download Files” for the attachments in the submenu that opens when you click the download button.
When selecting study, a download request will be submitted to our site. When the request is completed, you can navigate to the Downloads page at mymedicalimages.com/download.


